How do I choose the right paint finish for my space?
Choosing the right finish depends on the room, the surface, and how much wear and tear it gets. Here’s a quick guide:
Flat or Matte: Great for ceilings and low-traffic areas. It hides imperfections but isn’t very washable.
Eggshell: A soft, low-sheen finish that’s ideal for living rooms and bedrooms. It’s more washable than flat.
Satin: Smooth and slightly glossy—perfect for high-traffic areas like hallways, kitchens, and bathrooms.
Semi-Gloss: Durable and moisture-resistant. Use it for trim, doors, and cabinets.
Gloss: Very shiny and tough. Best for accent pieces or areas that need frequent cleaning.
If you're unsure, visit Hue & Hamer and chat with our team—we’ll help you find the perfect finish for your space and lifestyle.
What’s the difference between primer and paint?
Primer and paint serve different purposes, but they work together to give you the best finish.
Primer is like a base coat. It helps paint stick better to surfaces, especially bare wood, drywall, or previously unpainted areas. It also seals porous surfaces and can block stains or dark colours from showing through.
Paint adds colour and protection. It’s designed to go on top of primer and provide the final look—whether that’s matte, satin, or glossy.
Using primer first means your paint job will last longer, look smoother, and require fewer coats.
How long does paint take to dry?
Dry time depends on the type of paint, the surface, and the environment:
Latex (water-based) paint: Usually feels dry to the touch in 1–2 hours, but wait 4 hours before applying another coat.
Oil-based paint: Takes longer—typically 6–8 hours to dry to the touch, and 24 hours before recoating.
Humidity, temperature, and ventilation can affect drying time. For best results, paint in a well-ventilated space between 10°C and 30°C (50°F–86°F).
Can I use interior paint for exterior surfaces?
It’s not recommended. Interior paint is designed for indoor conditions—it’s not made to handle rain, sun, temperature changes, or moisture. Using it outside can lead to fading, cracking, or peeling much faster.
Exterior paint, on the other hand, is formulated to resist weather, UV rays, and mildew. It’s more durable and flexible, making it the right choice for outdoor surfaces like siding, fences, and trim.
If you're unsure which paint to use, feel free to ask our team in-store—we’re happy to help you choose the right product for your project.
How do I store leftover paint?
To keep leftover paint fresh for future touch-ups or projects, follow these tips:
Seal it tightly: Make sure the lid is on securely. Tap it down with a rubber mallet—not a hammer—to avoid damaging the lid.
Store it upside down: This helps create an airtight seal around the lid.
Keep it cool and dry: Store paint in a place that’s away from direct sunlight and extreme temperatures—ideally between 10°C and 25°C (50°F–77°F).
Label it: Write the room or project name, date, and colour on the can for easy reference later.
Use smaller containers: If you have a small amount left, transfer it to a clean, airtight jar or container to reduce air exposure.
Proper storage can keep paint usable for 2–5 years, depending on the type.
Do you offer eco-friendly or low-VOC paints?
Yes, we do! At Hue & Hamer, we carry a selection of eco-friendly and low-VOC (Volatile Organic Compounds) paints that are safer for your home and the environment. These paints release fewer chemicals into the air, making them ideal for indoor spaces—especially nurseries, bedrooms, and areas with limited ventilation.
We stock trusted brands like Farrow & Ball, and Dunn Edwards, which are known for their low-VOC formulas and sustainable manufacturing practices. If you're looking for a healthier option without compromising on colour or quality, we’re happy to help you find the perfect match.
What tools do I need for a successful paint job?
🧰 Essential Tools
Paint brushes – For cutting in edges and detail work.
Rollers & roller trays – Great for covering large areas quickly and evenly.
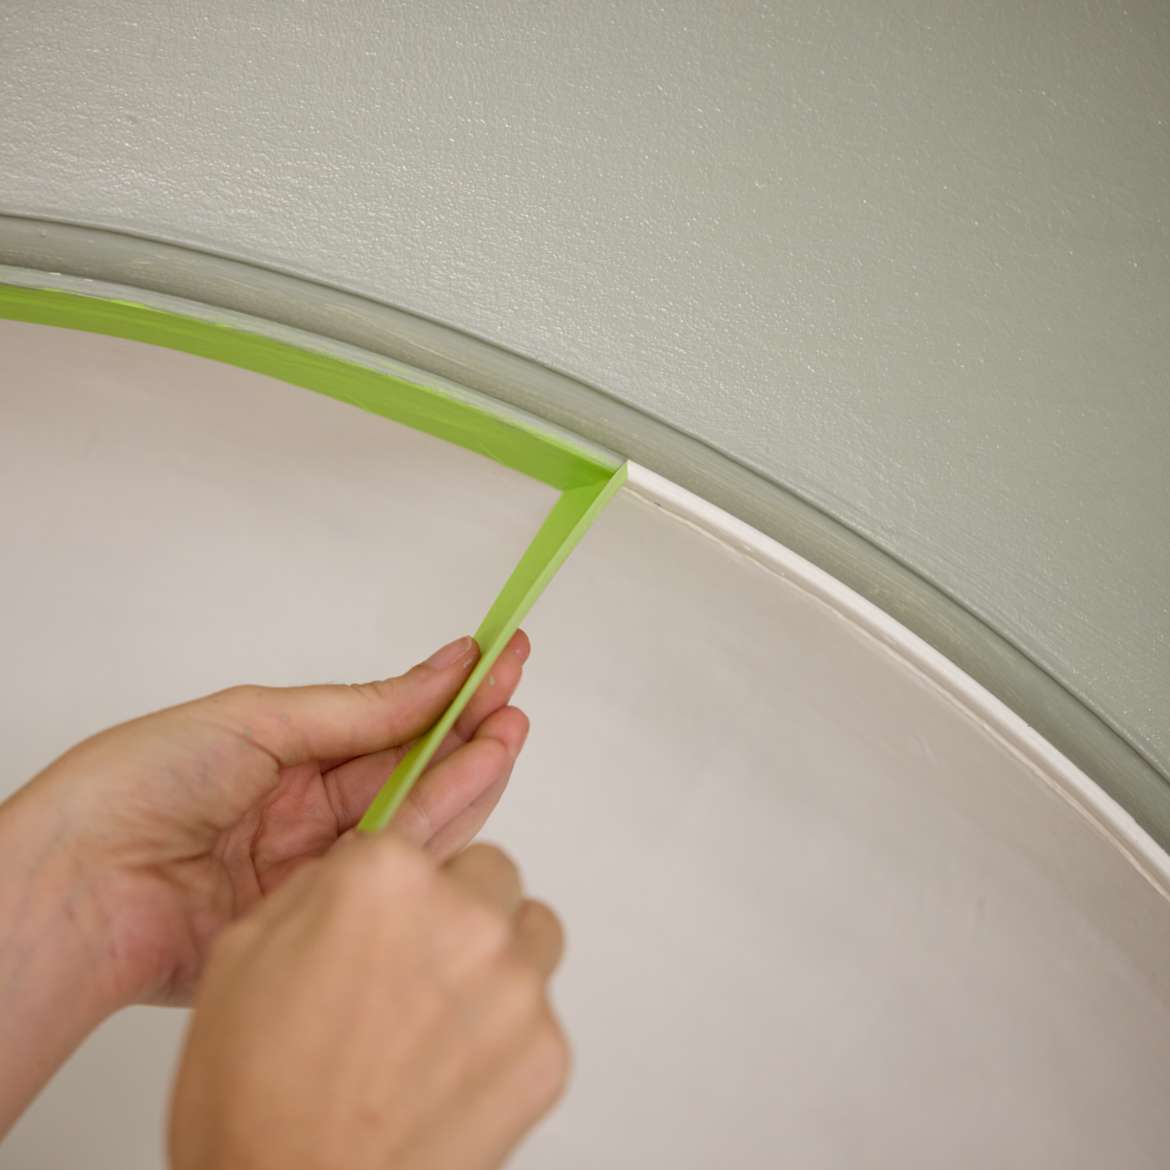
Painter’s tape – Helps create clean lines and protects trim or adjacent surfaces.
Drop cloths or plastic sheeting – Protects floors and furniture from drips and splatters.
Sandpaper or sanding block – Smooths surfaces before painting.
Putty knife & filler – For patching holes or cracks.
Stir sticks – Ensures paint is well-mixed before use.
🧼 Prep & Cleanup Supplies
Mild detergent & sponge – For cleaning surfaces before painting.
Bucket of water & rags – Handy for quick cleanups.
Paint remover or mineral spirits – For cleaning oil-based paint tools.
🛠️ Optional but Helpful
Extension pole – Makes ceiling and high wall painting easier.
Paint edger – Helps with clean lines around trim and corners.
Primer – Improves paint adhesion and coverage.
What’s the best way to prep a surface prior to painting?
Proper prep is key to a smooth, long-lasting paint job. Here’s a step-by-step guide:
✅ 1. Clean the Surface
Remove dust, grease, and dirt using mild soap and water. For glossy surfaces, a degreaser or TSP (trisodium phosphate) can help. Let it dry completely.
🧱 2. Repair Imperfections
Fill holes, cracks, or dents with spackling compound or filler. Once dry, sand smooth with fine-grit sandpaper.
🧽 3. Sand the Surface
Lightly sand to remove rough spots or old flaking paint. This helps the new paint adhere better.
🧼 4. Remove Dust
Wipe down the surface with a damp cloth or tack cloth to remove sanding dust.
🎨 5. Prime if Needed
Use a primer if:
The surface is bare (drywall, wood, metal)
You’re painting over a dark colour
There are stains or water damage
You’re switching paint types (e.g., oil to latex)
Primer helps paint stick better and improves coverage.
How do I deal with paint bubbling or peeling?
Bubbling or peeling paint usually means there’s a problem with adhesion—often caused by moisture, dirty surfaces, or painting over glossy or damp areas.
Here’s how to fix it:
Identify the cause: Check for moisture leaks, poor ventilation, or painting over dirty or glossy surfaces.
Scrape and sand: Remove any loose or bubbling paint with a scraper, then sand the area smooth.
Clean the surface: Wash with mild soap and water to remove dust, grease, or residue. Let it dry completely.
Prime if needed: Use a quality primer to seal the surface and improve adhesion—especially on bare or repaired areas.
Repaint: Apply paint in thin, even coats. Avoid painting in humid or very cold conditions.
If bubbling keeps happening, it might be worth consulting a paint expert in-store to help diagnose the issue.
How do I avoid roller marks or brush strokes?
To get a smooth, professional-looking finish, here are some tips to avoid roller marks and brush strokes:
1. Prep the surface
Clean, sand, and prime the surface before painting.
Fill any holes or cracks and smooth out rough areas.
2. Use quality tools
Choose high-quality brushes and rollers suited to your paint type and surface.
For walls, use a 3/8" to 1/2" nap roller for most finishes.
3. Don’t overload the brush or roller
Dip just the tip of the brush or roll the roller evenly in the tray.
Avoid dripping or heavy buildup.
4. Maintain a wet edge
Work in small sections and overlap slightly while the paint is still wet.
This prevents visible lines where dried paint meets fresh paint.
5. Apply even pressure
Use consistent, light pressure when rolling or brushing.
Avoid pressing too hard, which can leave streaks or texture.
6. Finish with long, smooth strokes
For brushes: end with light, even strokes in one direction.
For rollers: finish each section with a gentle roll from top to bottom.